Document Actions
gvSIG-Desktop 1.12. Manual de usuario
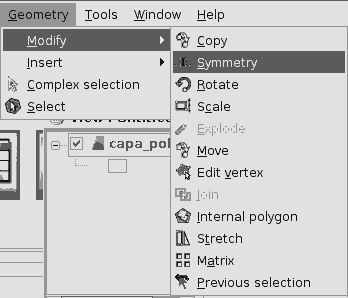
This tool allows you to make a drawing which is symmetrical to the selected one. You can access this tool by clicking on the “Symmetry” button in the tool bar

or by going to the “Geometry” menu bar, then to “Modify” and “Symmetry”.
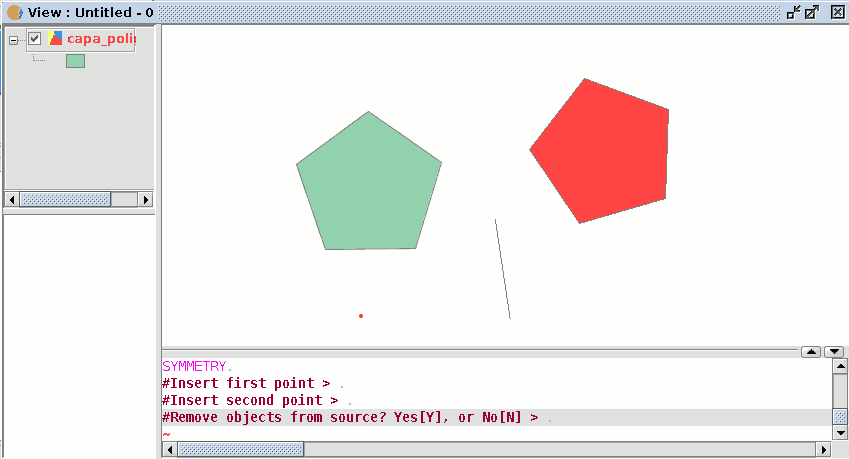
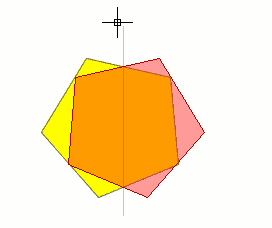
To obtain a symmetrical drawing in gvSIG, firstly select the element and then select the “Symmetry” option. Then, click on the display graphic area to insert the first symmetry axis point. gvSIG will then create a red projection of a figure which is symmetrical to the selected figure. You can then input the second point the symmetry axis will pass through by clicking on the graphic area again.
If you wish to run the tool from the command line, firstly write the command “symmetry”.
Input the first point the symmetry axis will pass through and press “Enter”. The console will then ask you to input a second point this axis has to pass through.
Input the point and press “Enter” again.
The console will ask you if you wish to keep the source object, write “Y” if you wish to keep it and “N” if you do not.